These days we live in such a technologically connected world. We are all on some form of social media (I mean here you sit reading this blog!) One of the challenges of such wonderful connectivity is that we have so many digital files, photos, ideas, recipes, inspiration, etc. But what do we do with it? Do we utilize it and benefit from it? Well, I for one am trying to start my own personal revolution to get back to a place where technology is actually bettering my life in some way. So, I have been diligently plugging away through hundreds of pins and actually making, doing, creating, and trying to pass this information along, for whatever its worth. And in the mean time, I am creating a memory keeper for the little things in life that I love so much and that allow me to spend time with my daughter making, doing, and creating. And all this making, doing, and creating allows me to share some pretty wonderful stuff with my family and the people I love the most. So, while this isn’t meant to necessarily be a Myth Busters for Pinterest kind of blog, it will in effect, have some of that from time to time.
Whew, so now that we have that out of the way, I want to share a pretty wonderful little Pinterest inspired recipe with you. You may have seen this pin floating around Pinterest. This is a great site and a great post with all kinds of wonderful information. You should totally check it out.
 http://www.theyummylife.com/Refrigerator_Oatmeal
Well, I like yogurt, and I like oatmeal, and I really like fruit and I love quick, easy, on the go, yummy snacks that Aubie Cakes will love too – especially if they are packaged in mason jars!! So, this one was a no brainer. We had to try it.
And folks, let me tell you, it is fabulous! And my Aubie cakes can totally help with this one!
I was a little afraid of the serve cold factor and the texture but it is similar to yogurt with granola just not as crunchy and totally delicious. As I may have mentioned I am not typically an exact follower of recipes, but that is the beauty of this one. It is so easy to adapt to your own tastes and likes. They were fun, and easy, and pretty to make, and a big hit. I was kind and shared with friends and family and they all gave this one the stamp of approval. This one has been officially moved to my “Success!” board on Pinterest to be added to my regular cycle of kitchen endeavors. So with out further ado, let me show you just how easy this is….
Step by step break down:
-
assemble your ingredients for easy filling
-
add the basic three elements to all jars: oats, milk, yogurt, shake well
-
add ingredients to create your flavor of choice, screw lid in place tightly
-
place in refrigerator overnight, enjoy in the morning
*eat within 3-4 depending on the elements inside. If fresh fruit is involved try to enjoy within 2 days.
Seriously, how easy is that?!
So let’s get to it!
First, assemble some clean mason jars – I, like the Yummy Life, started with some pint sized jars I had on hand for the portability and single serving factor. These worked beautifully. And I followed the basis of her recipe as a starting point
1/4 C Old fashioned oats – not quick oats, they would set up too fast, thus making mush, yuck.
1/4 C greek yogurt – I used vanilla – its what I had on hand (in fact I had a number of individual yogurt cups that were nearing expiration, I cannot stand to waste, so they were rescued by this experiment. By the way, I got about 2 jars out of each of the containers – just happened to be the Dannon brand Greek, light and fit, Vanilla in the purple packaging.)
1/3 C milk – I used 2% the first batch and vanilla soy milk for my second go round. For the record both set up nearly the same, but I think the soy makes for a slightly thicker consistency, which I prefer.

This is a basic dump, every jar starts with these three basic elements. So, assemble right in the jar, screw on your lids tightly (I used my metal lids so I could be sure I got a good seal when complete) and then give the jar a good shake. Carefully unscrew your cap, the pressure can make the jars want to spray – a little like a shaken soda can, and then the fun part begins!
And this is where I strayed from the recipes on the Pinned site and did my own experimenting. I used some of the flavor suggestions, but I changed the ingredients and amounts to suit my own liking. So, this is where you get creative friends!
Now may be a good time to stop for just a moment and chat about my mason jar filling funnel. I picked one of these up at my local Wal-mart for around $2 during the holidays, but they are not seasonal, they should have them all of the time. In my store they are right with the canning items and the jars. I cannot say enough how amazing this little $2 device is for this kind of quick assembly stuff. Oh, and jar recipe gifts, trust me; YOU NEED THIS!!! Especially if you are like me and have your own little Aubie Cakes helping you out in the kitchen. It can be the difference between a ‘great big guy’ mess and a ‘teeny tiny little guy’ mess, as Aubie Cakes would say.

Anyways, back to our story. I have made 14 total jars, not bad for still being on my first container of old fashioned oats, and I still have about a quarter of a container left. I tried to mostly stick to items already in my pantry, or items I tend to keep on hand, as this is an exercise in being cost effective as well. I would say in total I spent $3.00 for this project (for the oats), nothing else was purchased specifically to make these jars, all ingredients came from my cabinets and these do not require enough quantity of any one ingredient to cause you to need to buy special or replace even after making a batch of these; making these literally pennies to make and fill with the flavors you love.

There is absolutely no sugar added to any of these and many of the ingredients I chose were all natural, making these wonderfully simple and nutritious. In a few of the jars, I added a little natural honey or pure, natural maple syrup to give the combination a little sweetness and to balance out the vanilla or the tartness of the fruit used, this is completely optional. I did some with and some without. I couldn’t tell the difference, to be honest. So my second batch, I skipped all the additional sweeteners. Natural or not, they simply were not necessary.

A good, tasty, healthy, fast, and filling breakfast that the kiddos love too….. this is a win for everyone!
Need a little inspiration for flavor combinations!?
Here are some I have already tried:

Raspberry Vanilla – an adaptation of the Pinterest Recipe
4-5 tbsp Raspberry Jam (depending on your taste preference and how full your jar is, p.s. I am big on taste testing, these are perfectly safe to do a little finger dip taste test just for flavor along the way. mmmm, and who can resist!)
5 or so frozen Raspberries give or take depending on how much room you have in your jar
The vanilla comes from the vanilla greek yogurt and the vanilla soy. mmmm tasty!
add to the main ingredients and stir well until combined.

Apple Cinnamon – an adaptation of the Pinterest Recipe
enough apple sauce to fill jar
1 tbsp. of natural honey for a little extra sweetness
cinnamon to your liking
fresh sliced apples to you liking (mine did not brown with the jars sealed)
add to the main ingredients and stir well until combined.
Pumpkin Roll –
3 tbsp. Pumpkin
seasoned to your liking some suggestions would be nutmeg, cinnamon, cloves, or ginger
Vanilla from the yogurt and the soy milk
add to the main ingredients and stir well until combined.
Pineapple Coconut Vanilla –
Pineapple chunks and juice to your liking and to fill the jar
approx. 1 tbsp. shredded coconut
pinch of ginger
add to the main ingredients and stir well until combined.
Currently in my ‘fridge to try next Maple Banana Nut and Vanilla Apple Butter from my second batch. Don’t worry, I’ll let you know how they turn out and share my recipe if they are as tasty as the others.
And it really is that simple folks! Chalk up another Pinterest success!

Thanks for sticking with me through this whole post! Now go whip up your own creations and let me know what you might come up with, I am always looking for new recipes. Enjoy! I know I will!
xoxo,
Mama Bakes
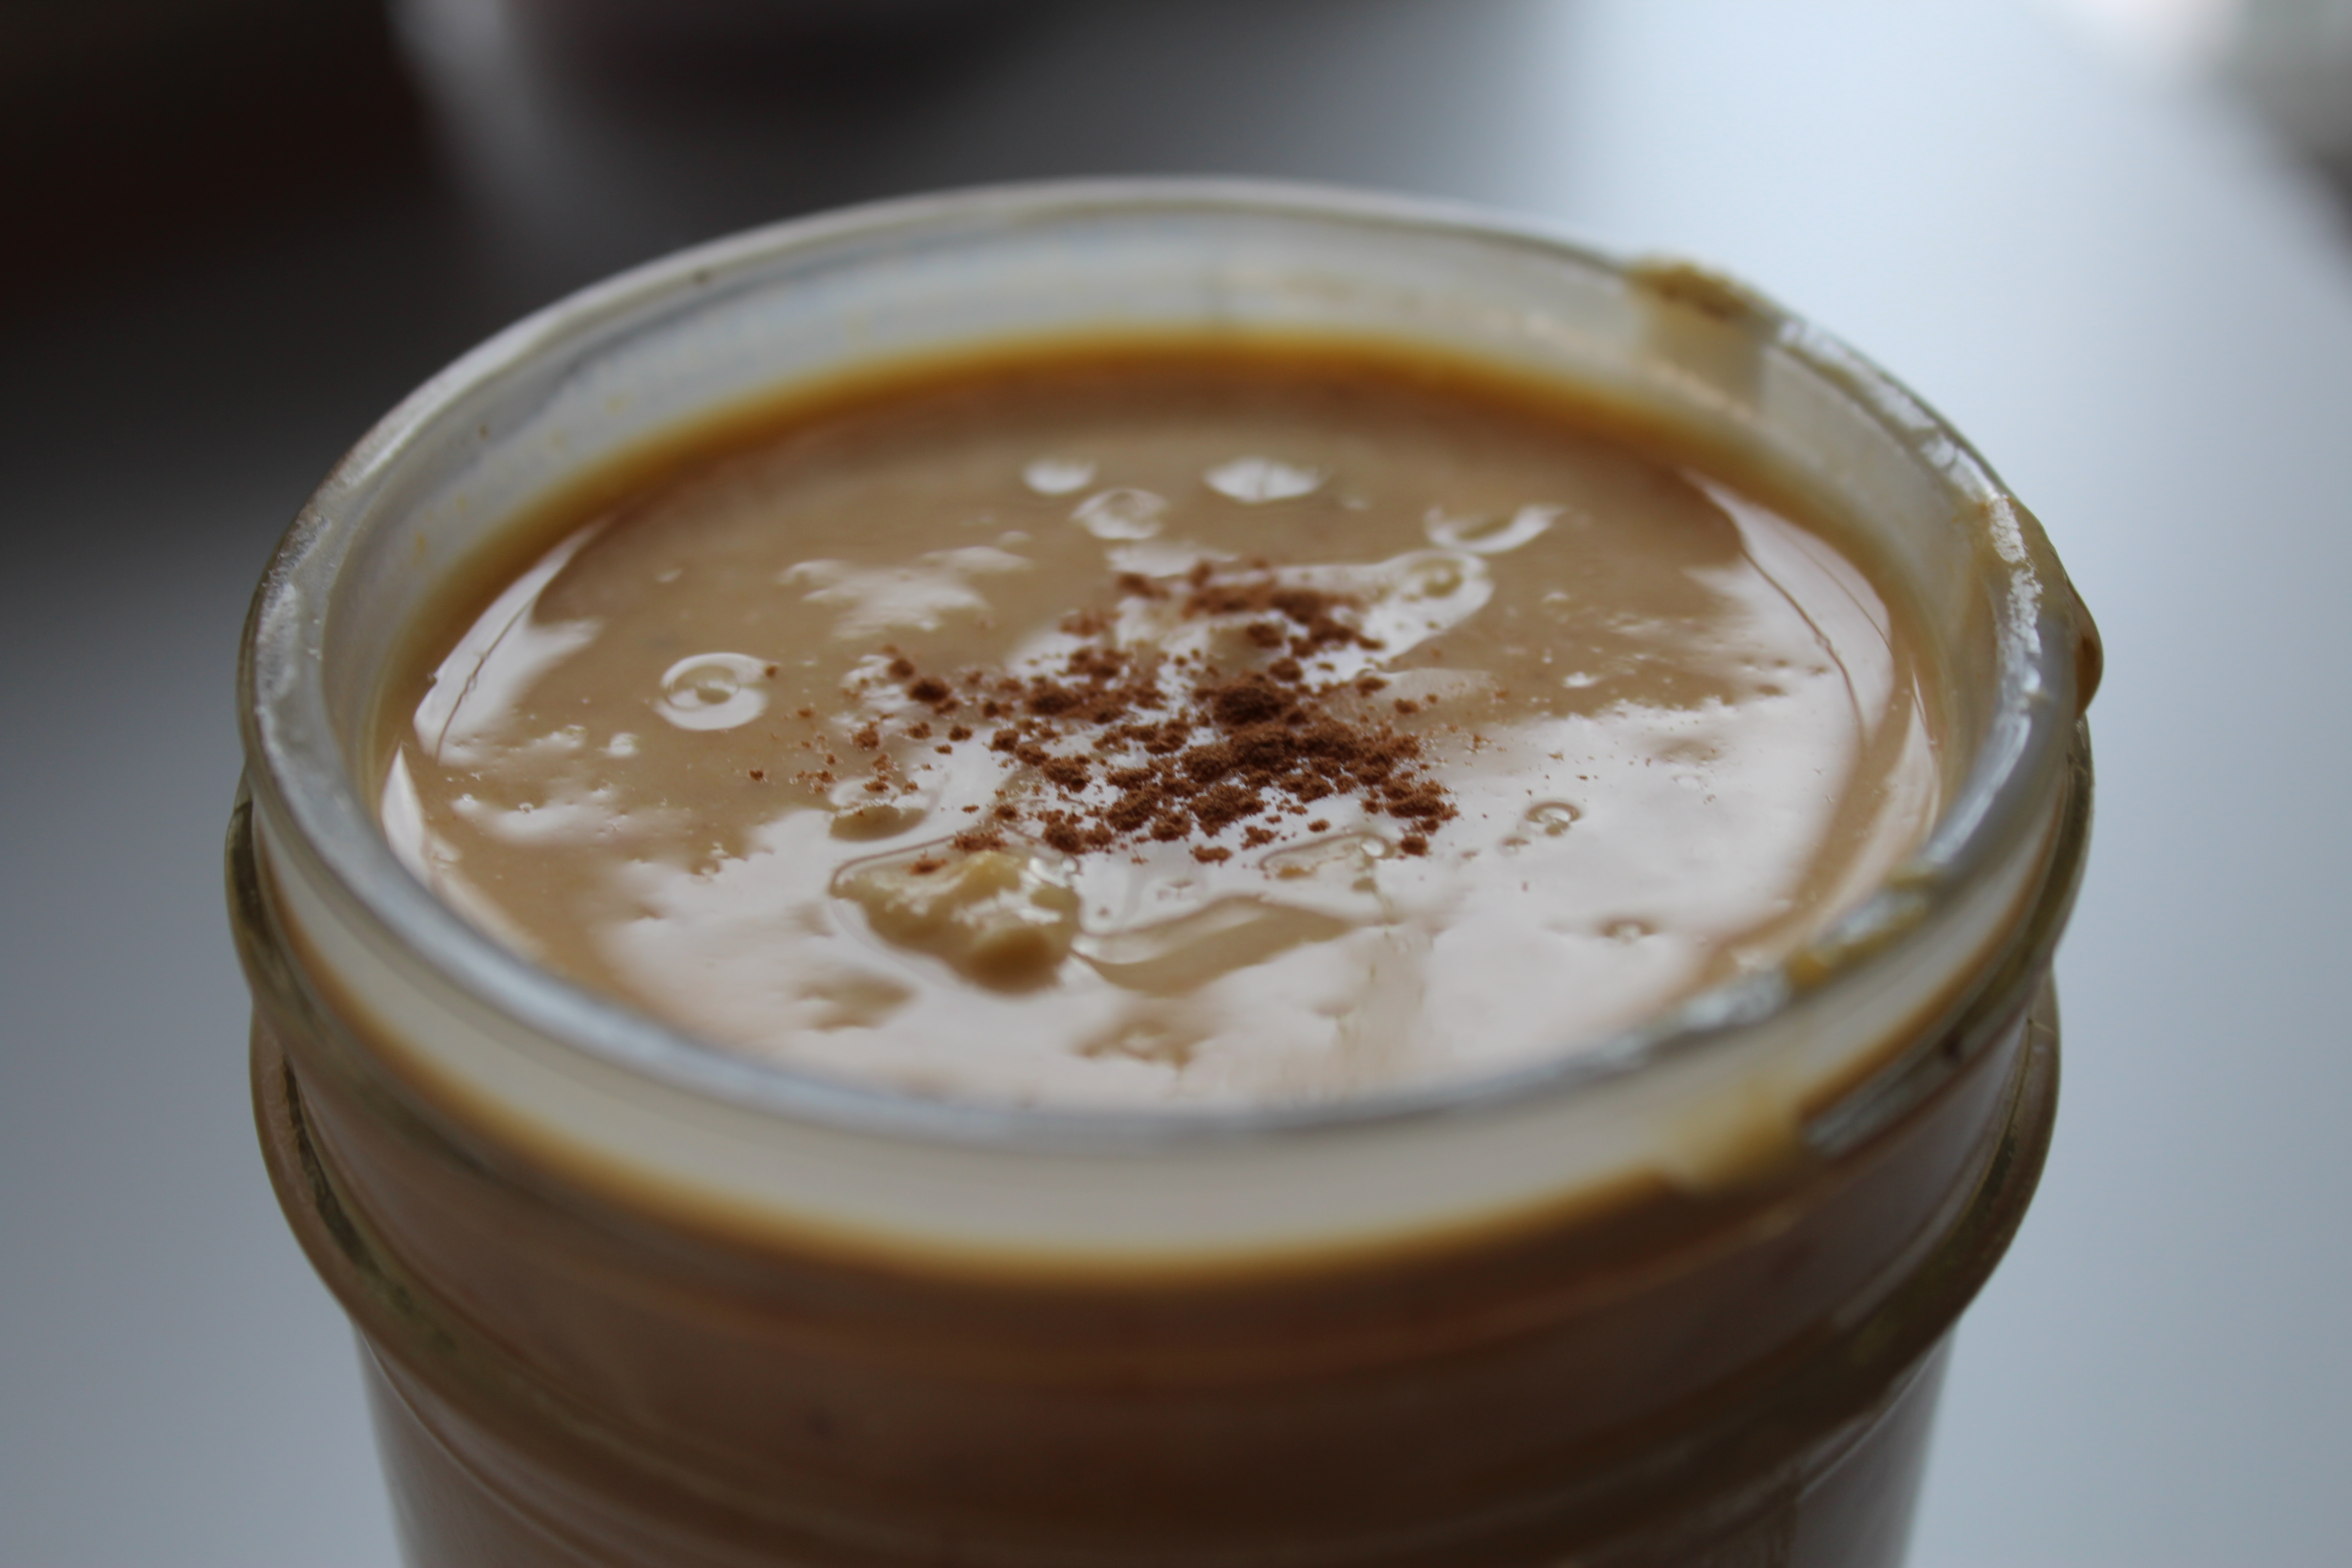
**update:: I tried the Maple Banana Nut today; it was fantastic! It might just take the top spot as my favorite so far. So, as promised here are the additional ingredients:
Walnuts to your liking
1tbsp maple syrup (you may like more this amount will give you a very mild maple flavor)
Freshly sliced bananas to your liking
*eat this one within a day or so because of the fresh bananas.
This was really so good. I especially loved the crunch of the walnuts. Enjoy friends!
